
Best Practices For Adding Ducting Junctions And Outlet Vents To Your Propex Installation
Posted by Propex North America on Apr 17th 2025
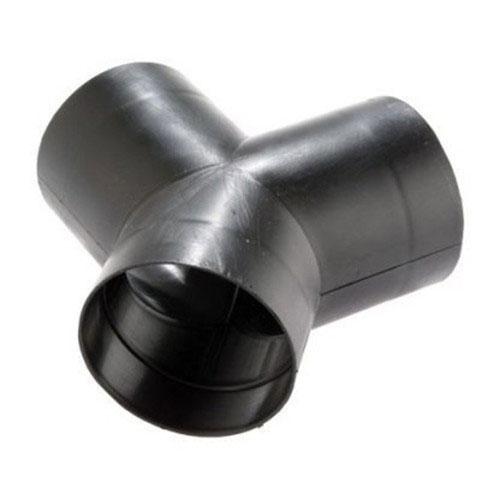
If you have a larger cabin space, consider using ducting junctions to add a second or third outlet vent to better distribute the heat. Propex North America carries Y-Junctions, T-Junctions, and Straight Junctions for the HS2000 and HS2211 and a Y-Junction for the HS2800.
- To add a junction to your HS2000 or HS2211 installation, it’s as easy as purchasing a Y-junction, T-junction, or straight junction, and slipping the 60mm ducting into the end of the junction. For the outlet vents, you’ll need a 60mm reducer/adapter for each vent.
- To add a junction to your HS2800 installation, you'll need to use 76mm reducer/adapters. These reducer/adapters are used to adapt the ducting to the Y-junction and outlet vents. You'll need as many adapters as the number of connections you install. For example: if you use a Y-junction to add a second outlet vent, you will use one reducer at each leg of the Y-junction and one at each vent for a total of five reducer/adapters. (Note - the heater outlet does not need a reducer/adapter to attach the ducting.)
- If using a T-junction, please note that the flow of hot air should never end in a dead end. In other words, you should install the junction with the top of the tee in line with the heater outlet.
- Ideally the first vent outlet in your ducting system would be no further from the heater than 1.5 meters. Anything longer has the potential to cause the heater to overheat.
- If you have a large space or your space has several distinct areas (kitchen, living area, sleeping quarters), please consider the Propex Heat Air GTR-10 or Heat Air GTR-15. These heaters provide up to 9000 and 15,0000 BTU’s respectively and can be mounted either internally or externally to the vehicle or structure.